Shooting landscapes using Long Exposure photography is a wonderful way to capture a sense of awe in nature. As well as the benefits of getting into the great outdoors to find the perfect spot for composition, it also offers a brilliant opportunity to develop extra skills and get the most out of your camera. Once these techniques are learnt, it can also add a unique style and creativity to your photography by capturing a sense of drama or mood, calmness or even dream-like images with a fine-art quality.
The unique beauty of capturing images over an extended period of time make them a very popular category to sell for creative book covers and can belong in large-scale wall art collections.
To help you get started we’re sharing the techniques behind the artistry, and we’ll show how you can develop your camera skills using long exposure photography to reach a wider range of customers. With our guide below we’ll take you through some of the key steps of what to think about in preparation for your long exposure shoot.
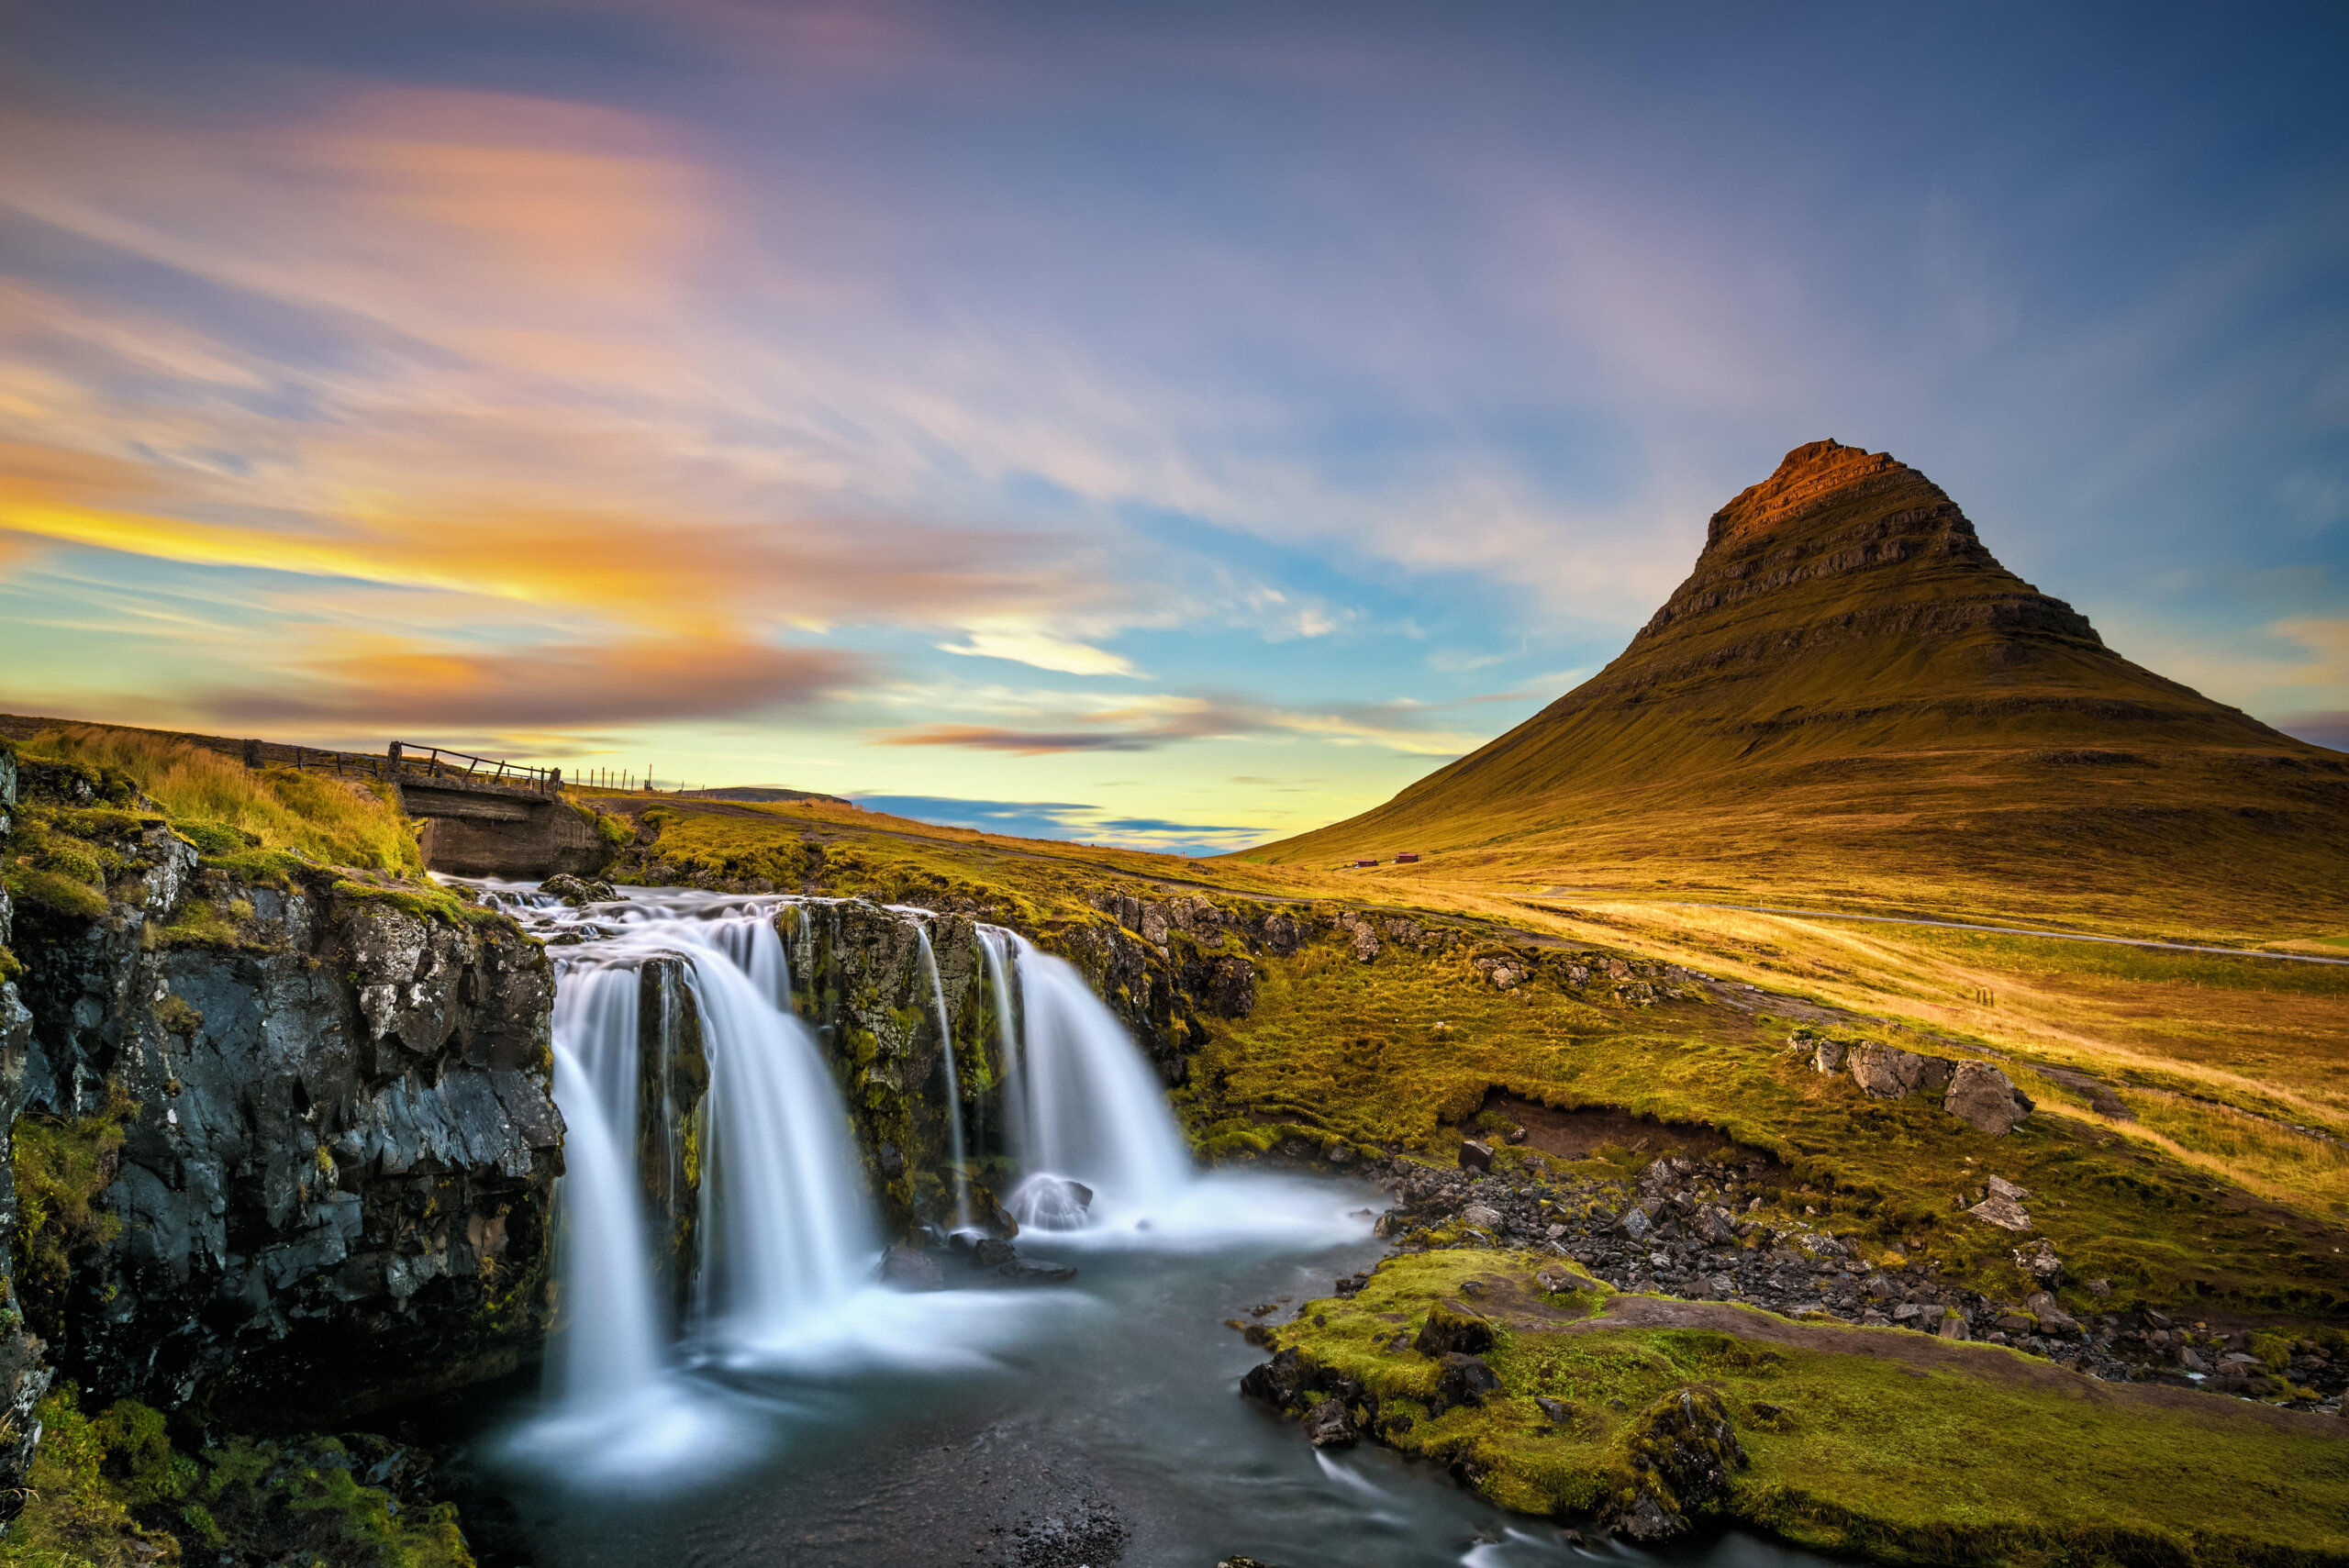
This iconic image could be used in a travel brochure promoting the vast wilderness Iceland has to offer.
Essential Equipment
To get started you’ll need:
- DSLR or Mirrorless Camera
- A Tripod
- Cable Release / Remote
- ND (Neutral Density) Filters ideally 6 or 10 stopper (if available)
It’s important to ensure that you have a stable tripod to avoid any camera shake during long exposures – movement can be quite noticeable in long exposure shots.
The 10-Stop ND filter reduces the amount of light entering the camera, allowing for much longer exposure times during daylight, which will allow you to create beautiful, blurred motion effects and silky-smooth water.
If you don’t have a 10-stop filter, you can still achieve long exposures by lowering your ISO to the smallest available setting (e.g. ISO 100) and shoot with the largest aperture available (e.g. f16) to get 1-3 second exposures – these can be just as effective.
Composition
Begin by working out your composition. Techniques like leading lines and the rule of thirds can help create a balanced and visually appealing image. Consider what part of the scene you want to emphasize by slowing down time.
For example, do you want the clouds to appear wispy for added drama? Or do you want to make the sea appear calm and still, as if frozen in time? Thinking about how you juxtapose moving subjects (waterfalls, waves or clouds) with still subjects (rocks, piers or trees) will help define your composition.
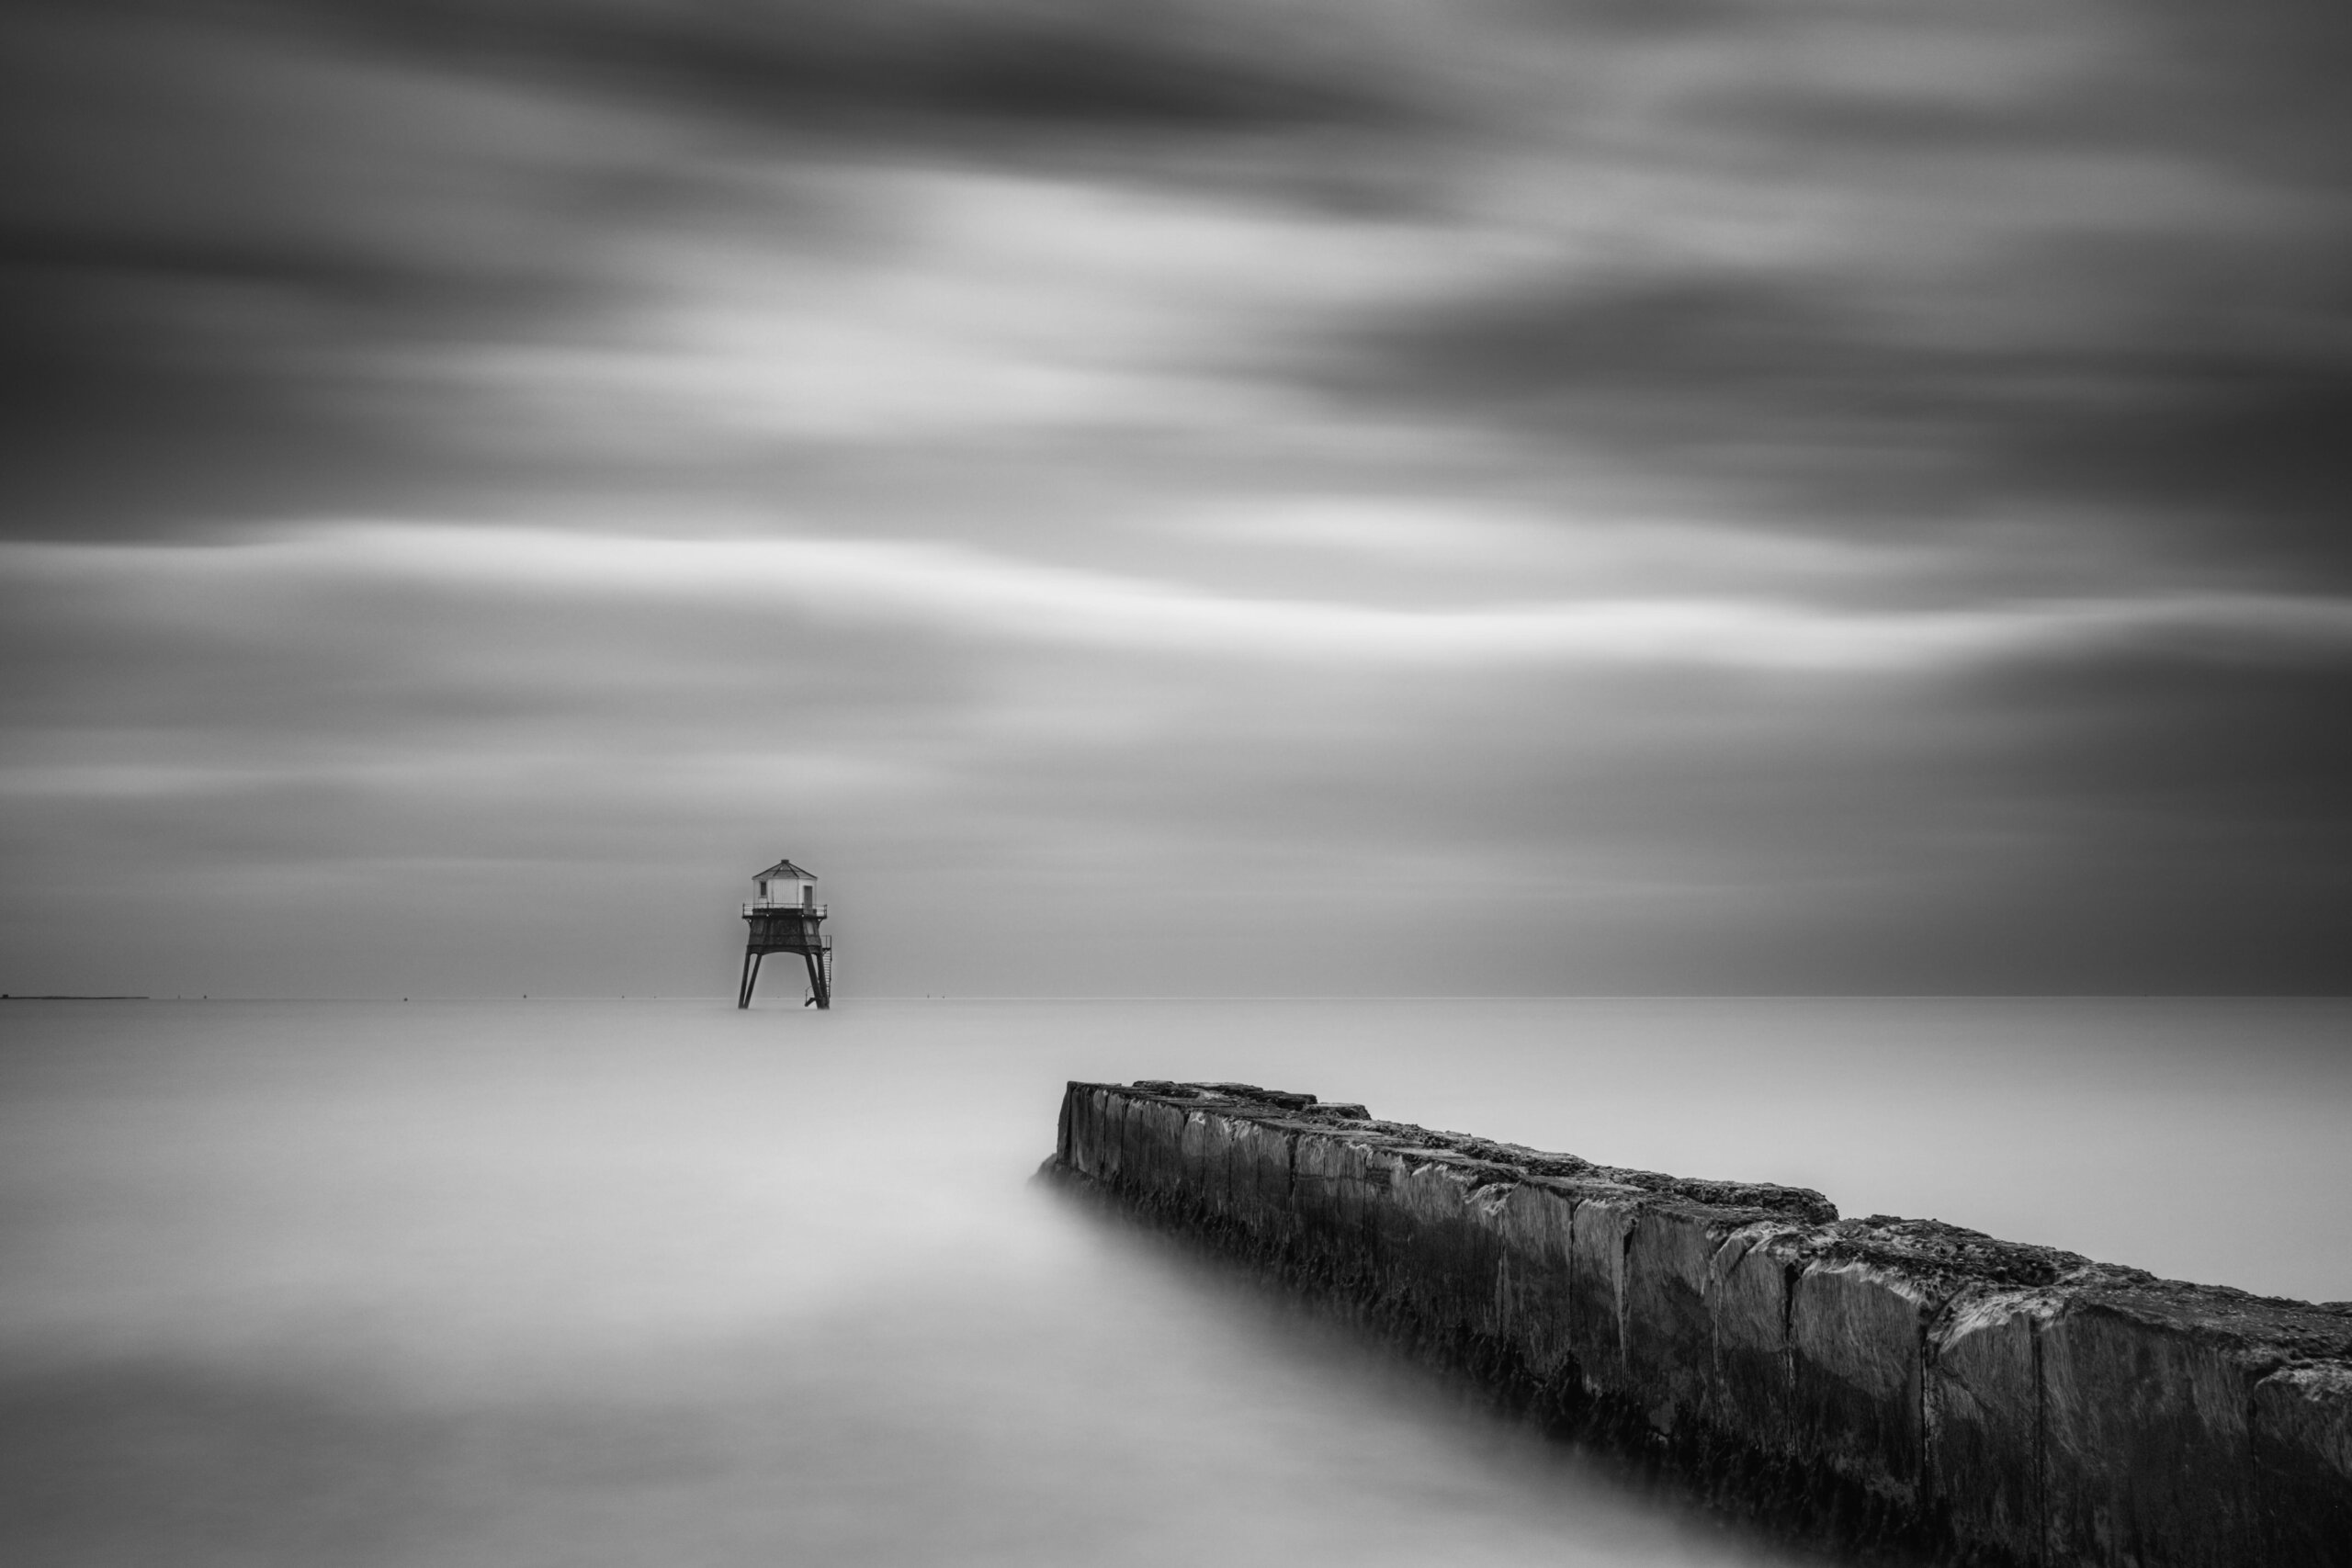
A lot of copy-space, this image could easily be used in an album cover or book cover.
Calculate the Exposure
After choosing your composition, you’ll need to calculate the correct exposure time. First take a meter reading of the scene without the filter on the lens.
It’s best to set up your focus here first and then switch to manual focus. Putting the filter on top of the lens will essentially black out what you can see through ‘Live View’ or the viewfinder – this is why it is important to get the focus right first.
Kase Filters has a useful breakdown of finding the correct exposure with a filter table. There are also smartphone apps which can help with calculating the exposure to use while you’re out on your shoot. If you’re not using a filter, just use the meter readings in camera. Shooting in Manual will give you full control over aperture and shutter speed.
Shoot in RAW
RAW files preserve the full range of colour and detail because they contain all the data captured from the camera’s sensor meaning that the image quality will be higher.
Compared to JPEGS, which are compressed files, shooting in RAW gives you a broader dynamic range – there’ll be more detail in the shadows and highlights.
They are also Non-Destructive, meaning that when you edit a RAW file, the original data remains unchanged as the adjustments are saved as metadata. So you can always go back to the original and re-edit. You also retain the ability to easily adjust the White Balance of an image.
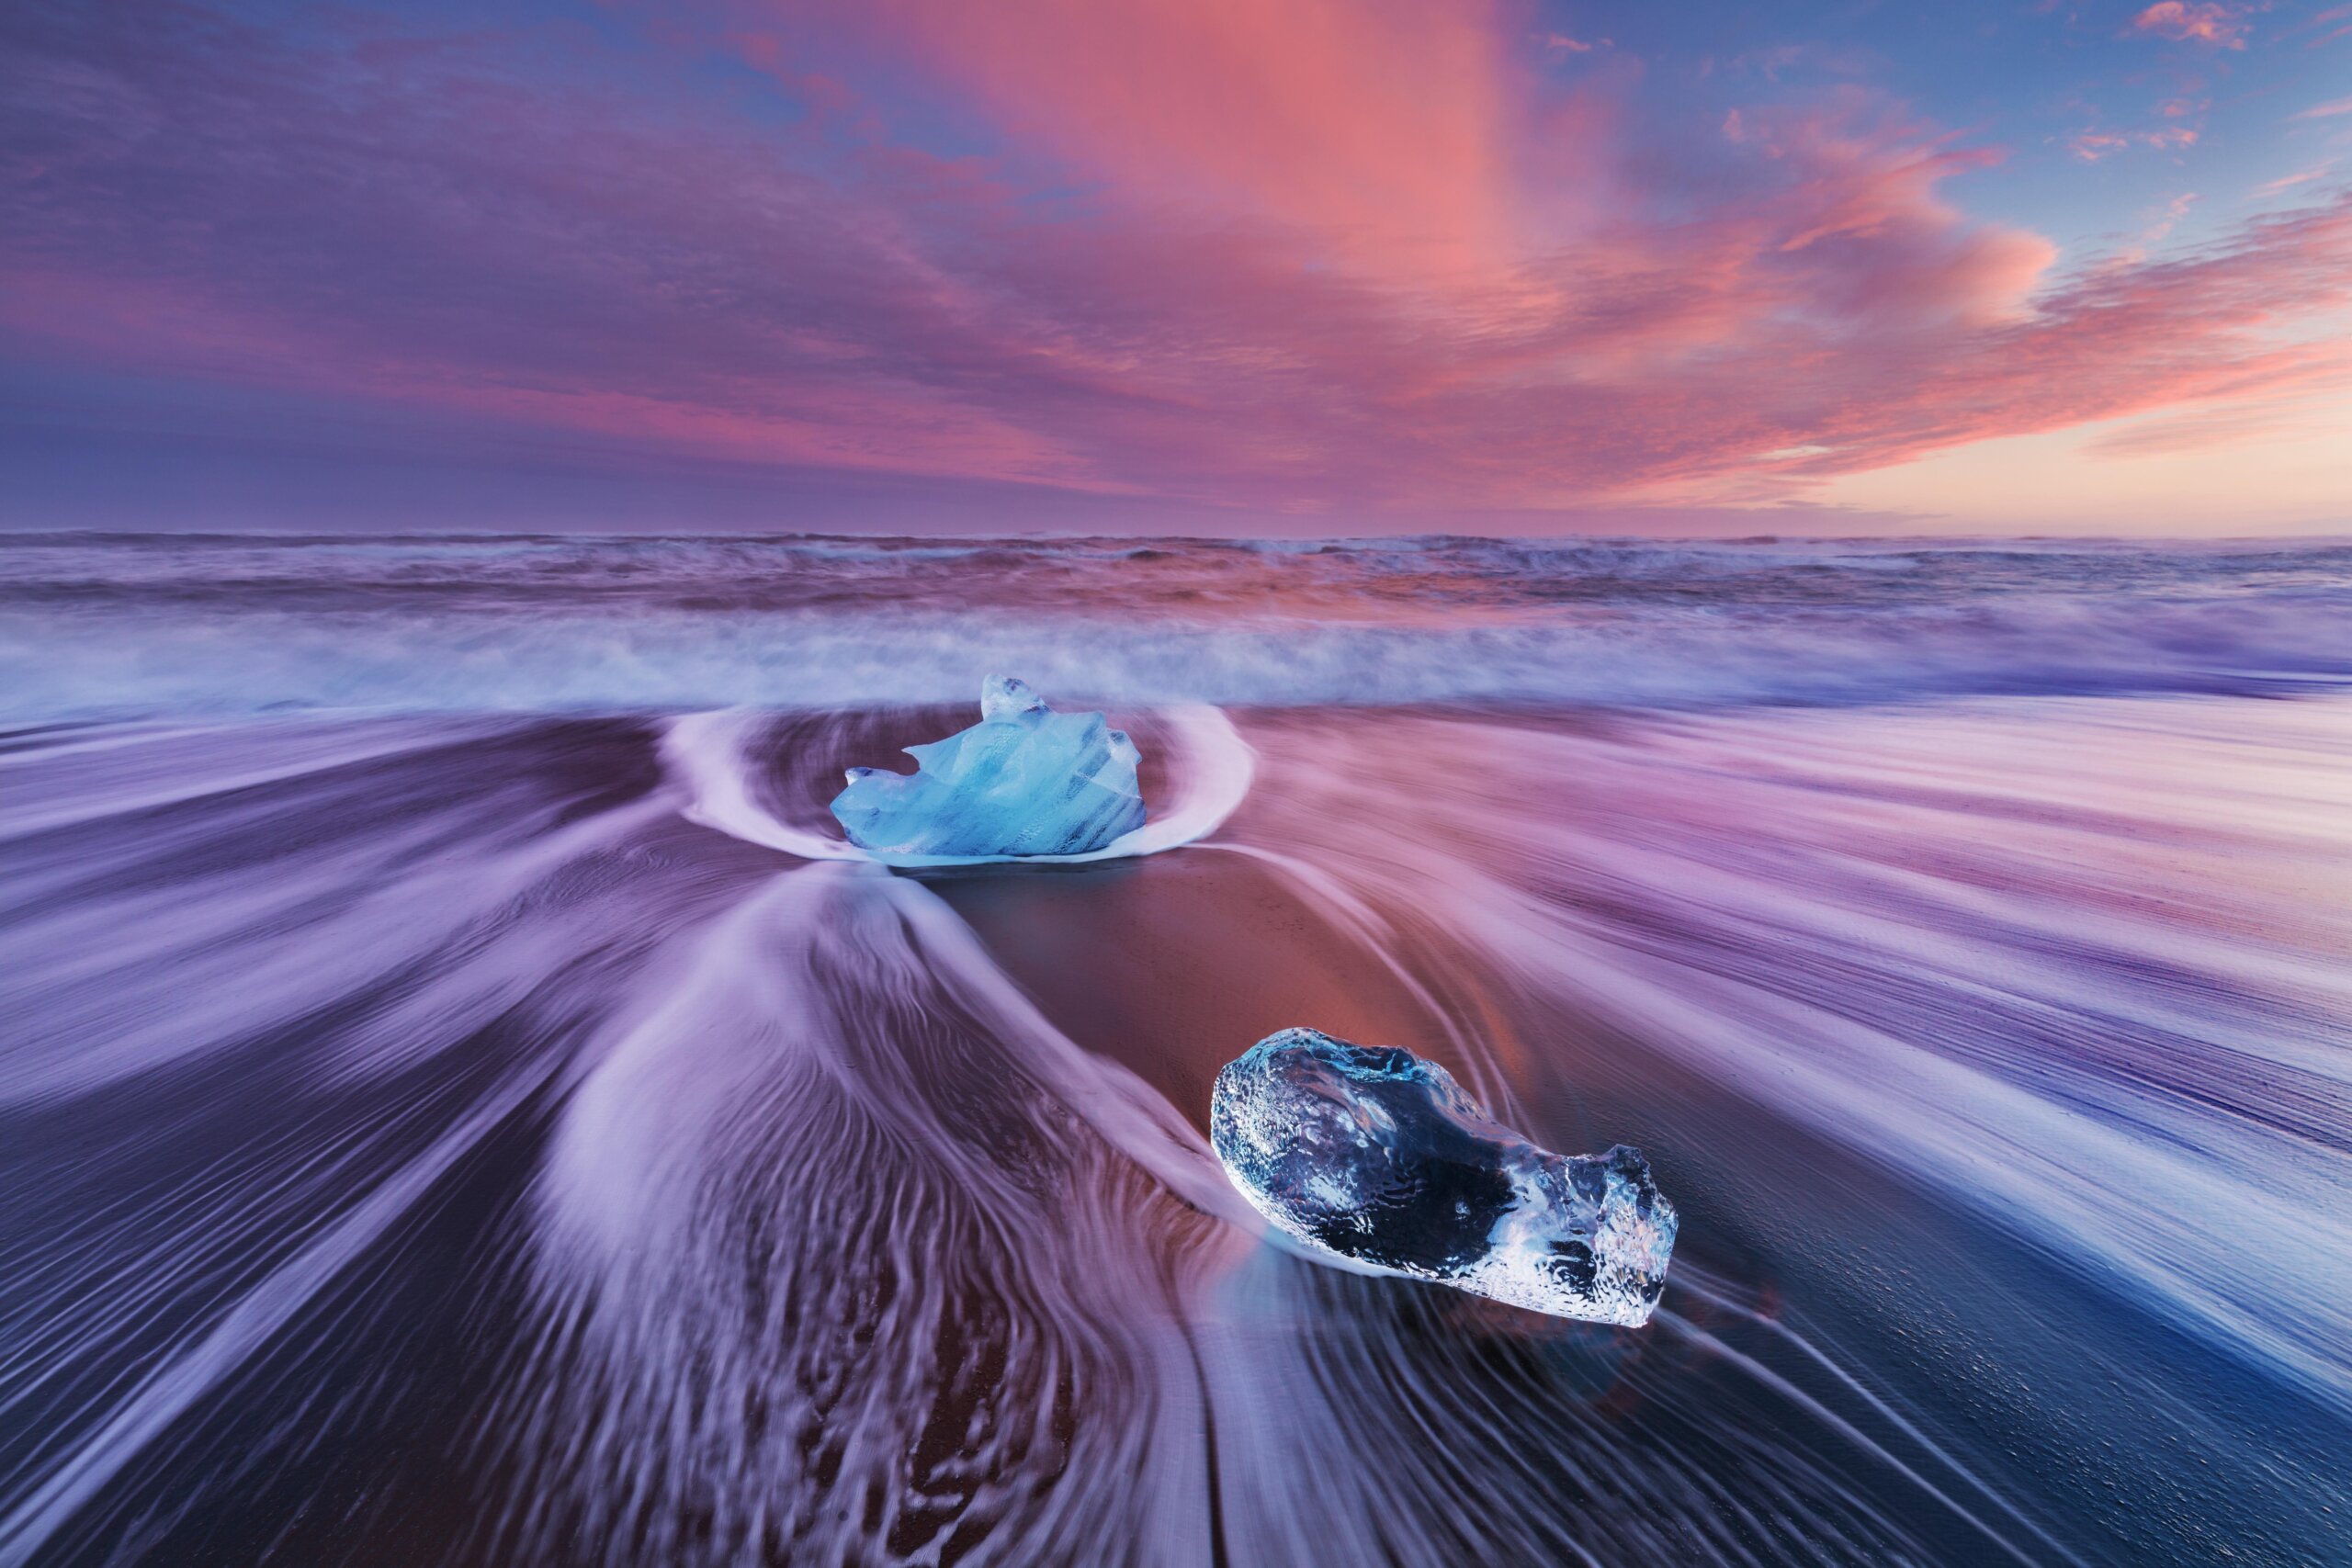
Centred in the middle with a beautiful sunset for contrast, this image could be ideal for an album cover.
Filters
There are many different filters makes available, from companies like Kase, Lee and Cokin to name a few. They all offer 6 or 10 stoppers which are ideally what you would need to do this type of photography. Because they block out so much light; they need a longer exposure thus creating the milky dream-like effect.
Final Steps
If your camera has a ‘viewfinder window’ and you can close it, do so. This is often referred to as ‘Eye Piece Shutter’. Closing it ensures that the only light coming into the camera is through the lens.
A cable release or remote is essential for exposures lasting longer than a minute, but if you don’t have one, using the camera’s self-timer can help minimize movement when taking the shot.
Shoot!
It’s advisable to take a couple of test shots to make sure everything is sharp and in focus. Using a photographic ‘loupe’ can come in handy to review the back of the LCD screen; it magnifies it letting you check for sharpness and detail of an image.
Many photographers capture landscapes at sunset or sunrise, but any time of the day or the year is suitable for using long exposure photography in taking images of landscapes – the possibilities are endless.
To give you further inspiration to capture some incredible shots of your own, check out our Long Exposure Landscapes collection for examples of what can be achieved.


